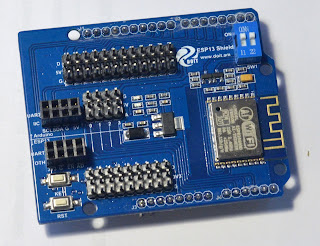
Finally, we found some time to play with the ESP13 board. After a deeper investigation - this module proved to be a very self-sustaining and robust shield which grants the limitless access to the WiFi connection for any Arduino projects.
A step by step guide for the beginners on robotics, Arduino and electronics
June 15, 2017
June 10, 2017
8. Software Architecture and Multitasking
In the previous posts, you might notice that as the code of the robot was growing, we started grouping related pieces into separate files and tried to make these pieces as independent as possible.
Now it is time to give some explanations, why that was done, and how can we ensure timely reaction to the outside events, having that many things to do on such a simplistic board as Arduino UNO/MEGA.
Now it is time to give some explanations, why that was done, and how can we ensure timely reaction to the outside events, having that many things to do on such a simplistic board as Arduino UNO/MEGA.
June 4, 2017
7. Sounds Generation
Our robot learned how to crawl. Now it is time to give it a voice. It is obvious that even well-known R2D2 became famous also because of his magnificent trills and beeps. Our robot cannot miss this part.
There are lots of inexpensive sound generation modules which can be integrated with Arduino. Including even modules which can play MP3 files from the built-in micro-SD card.
Currently, we have nothing like that. But still, there is a way do beep.
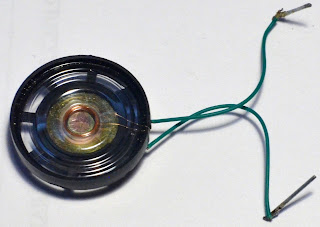
From the old broken toy we extracted a beeper - I believe in any house with kids you can find a couple.
June 2, 2017
6. Power for the Robot
The fіrst prototype
While working with the introductory Arduino experiments, it is unlikely you face any concerns on how to power your circuits. Usually, your board receives all it need through the USB connection from the computer. For the sophisticated experiments you can even buy a breadboard with the power supply module (like this one).
Talking about the autonomous robot - it starts to be a bit more complicated. You can't rely on external power, and you need to find the way to have everything on board.
Subscribe to:
Comments (Atom)


